350Z Build/Drift progression
Here at Co-ordSport most of us are Car Fanatics, but into different areas, such as Track Driving, Hard Parking etc.
For me personally, it has to be grassroots Drifting.
After a short break from selling my last Car and spending a day at Santa Pod with the lads from Cutloose, I decided it was time for another project.

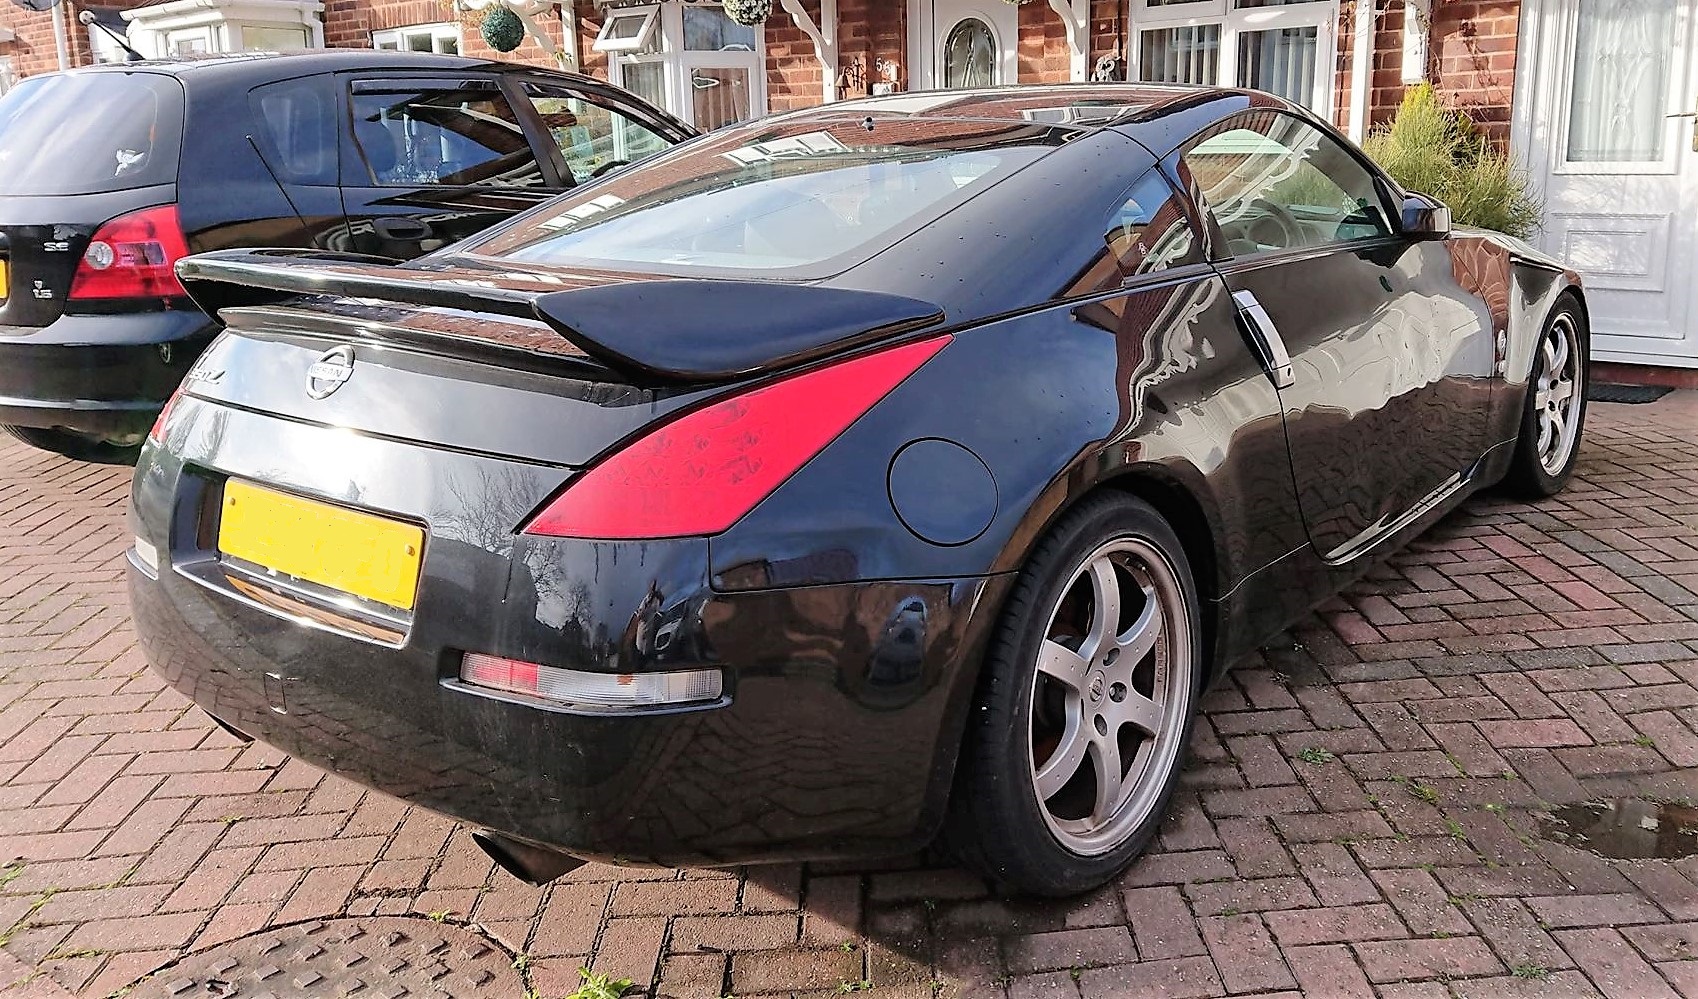
After Speaking with a friend, he had decided it was time to part ways with his 2006 GT Pack 350z.
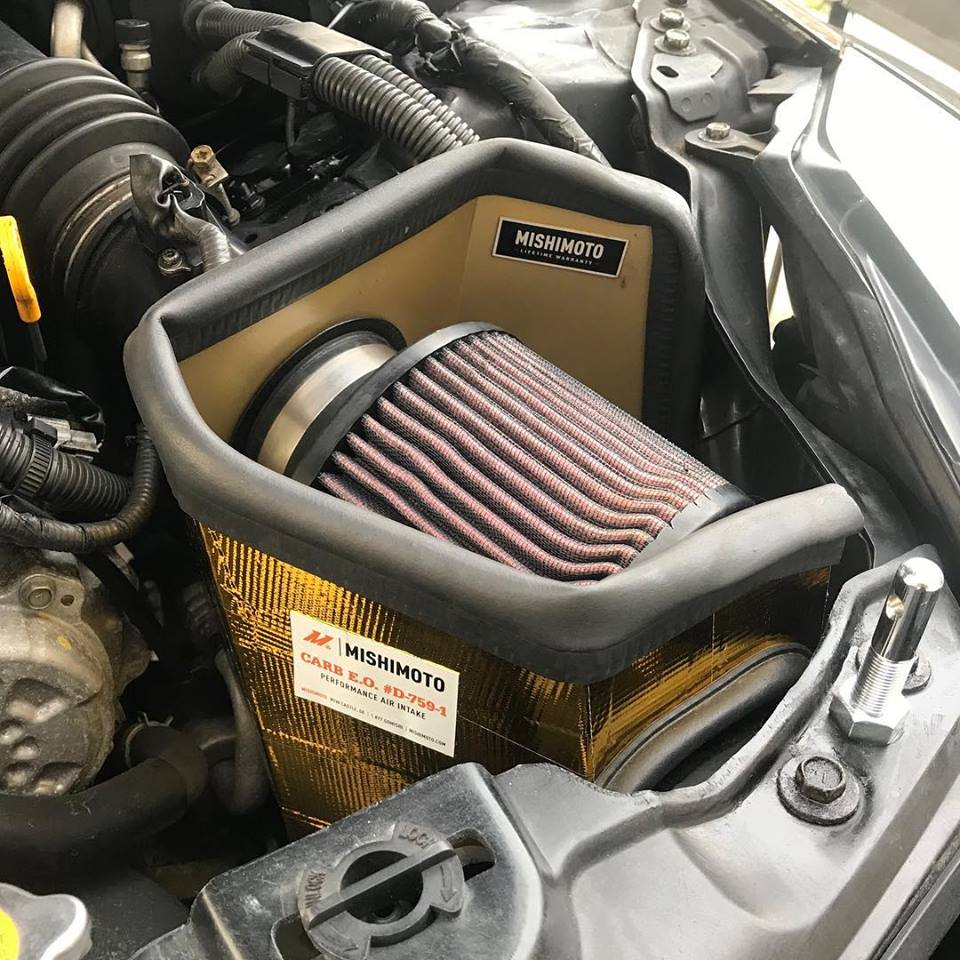
The Car came ready fitted with Tein Mono-Pro Coilovers, Tein EDFC, Scorpion Exhaust, Mishimoto Intake, GC Fabrications Harness Bar, Hel Braided Hoses and some front lower Arm Polybushes.
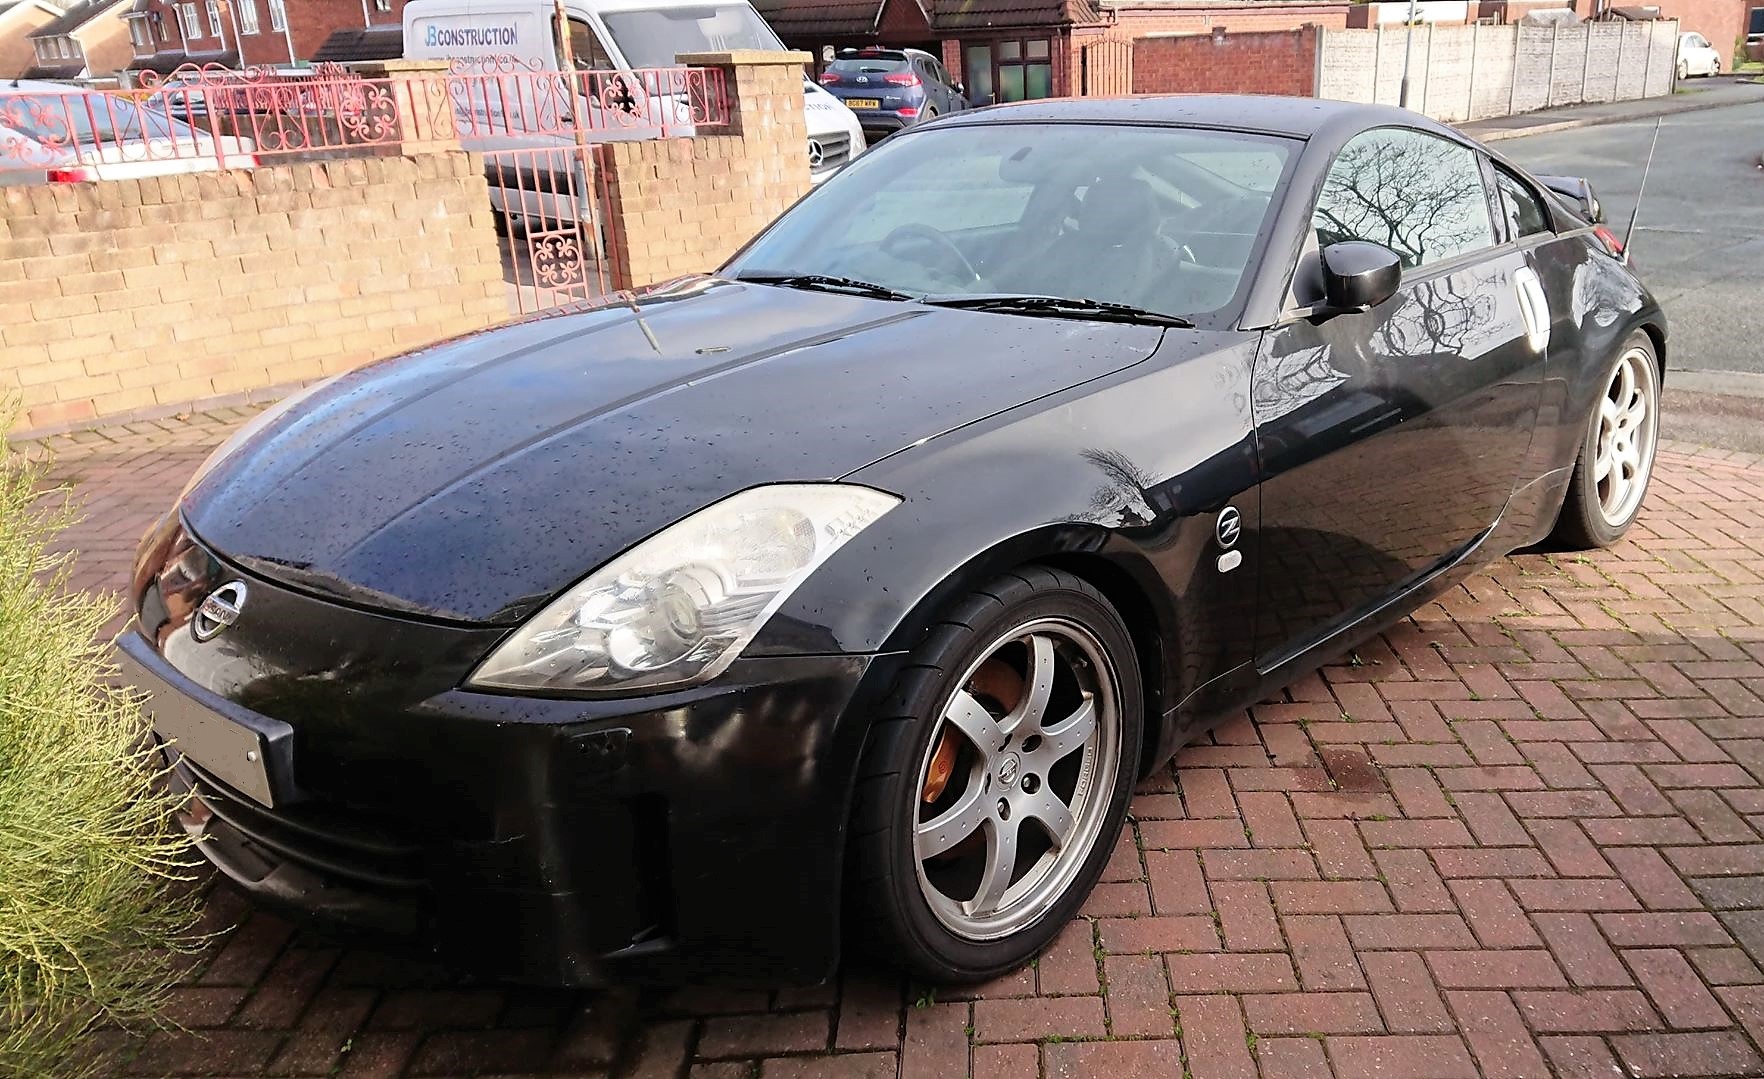
Early April, I picked the Car up and promptly got it home to get cracking,

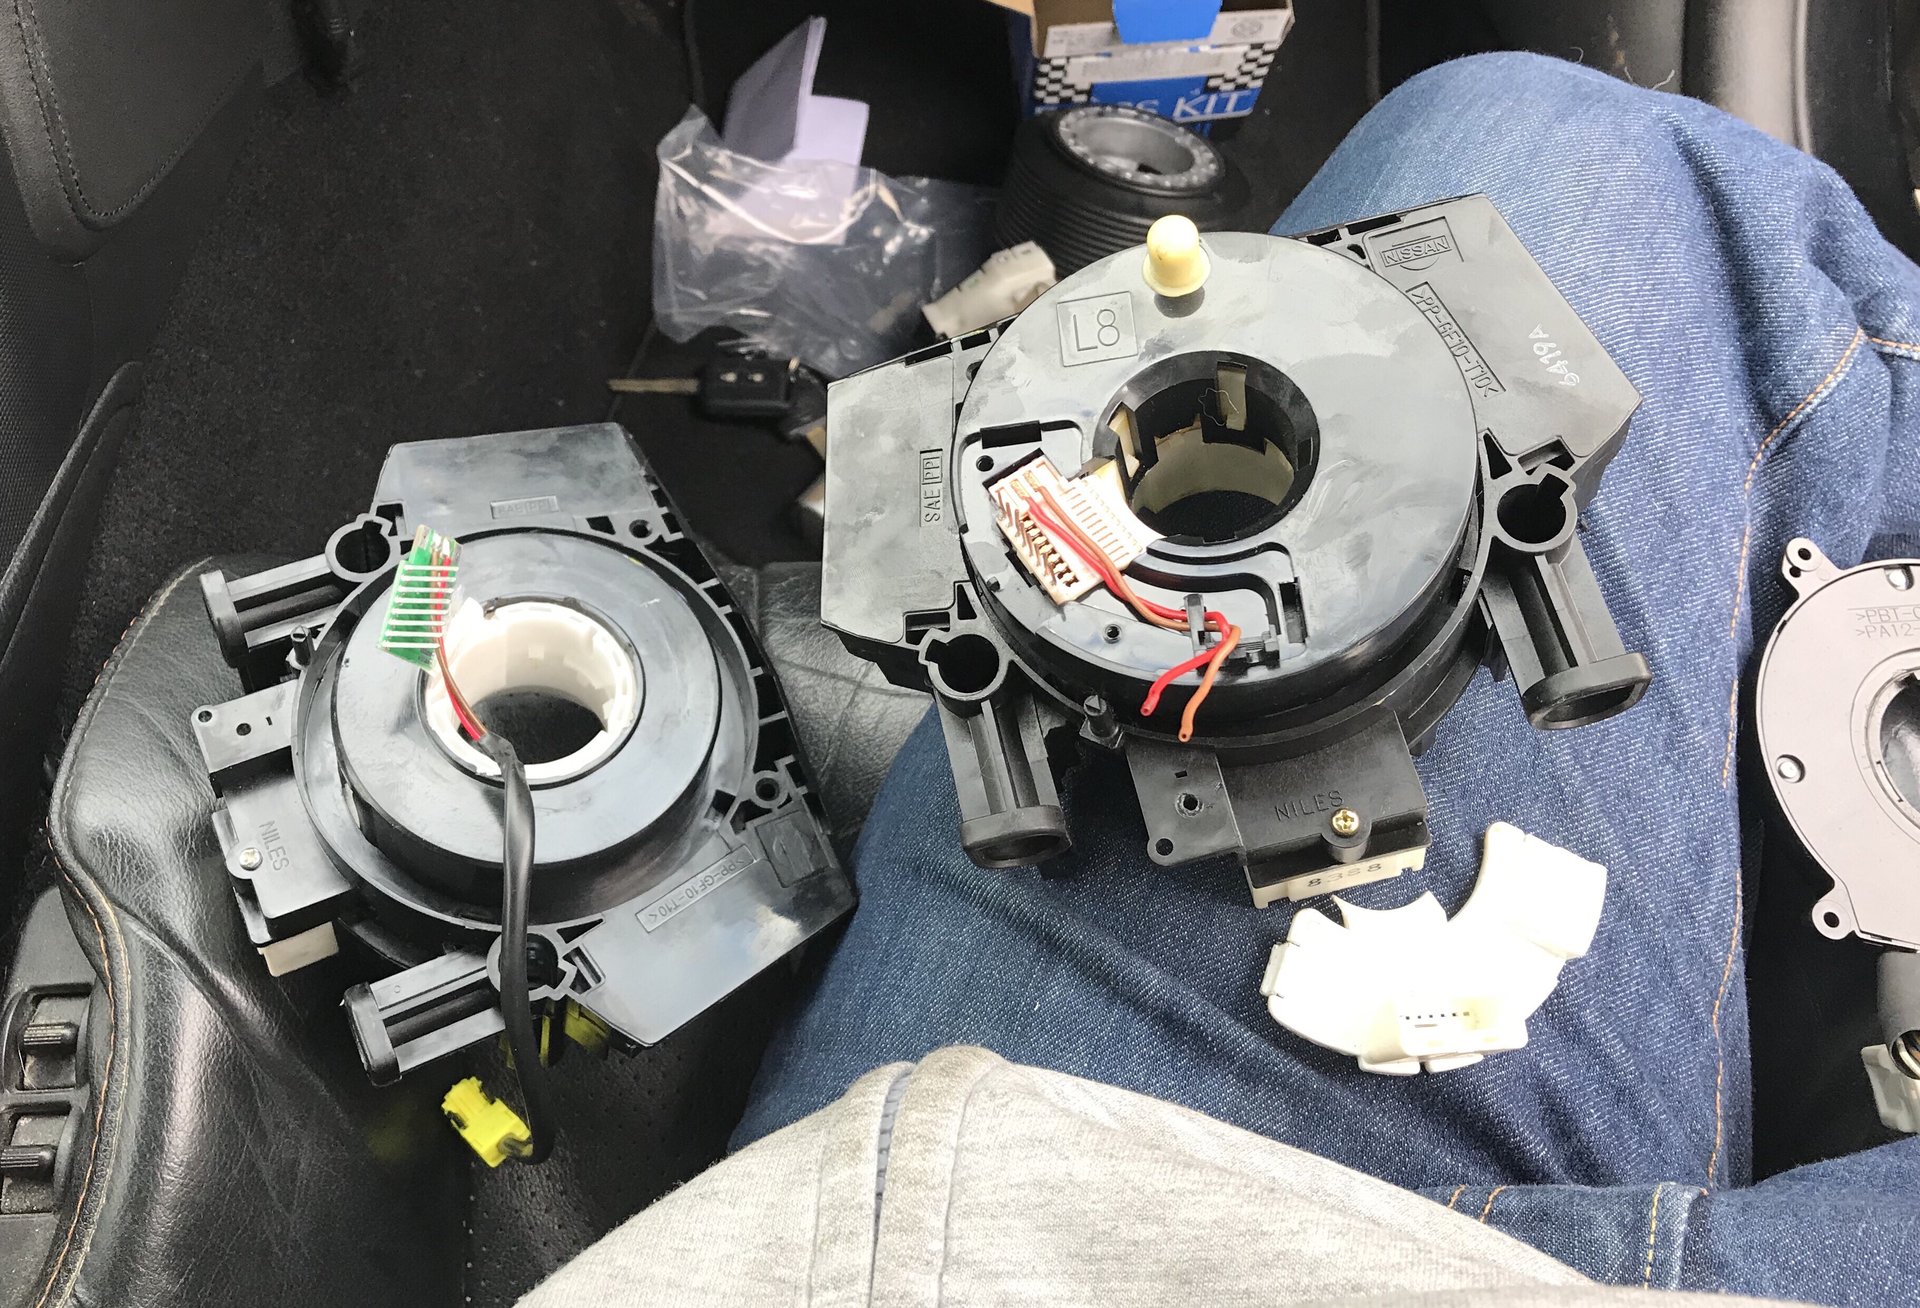
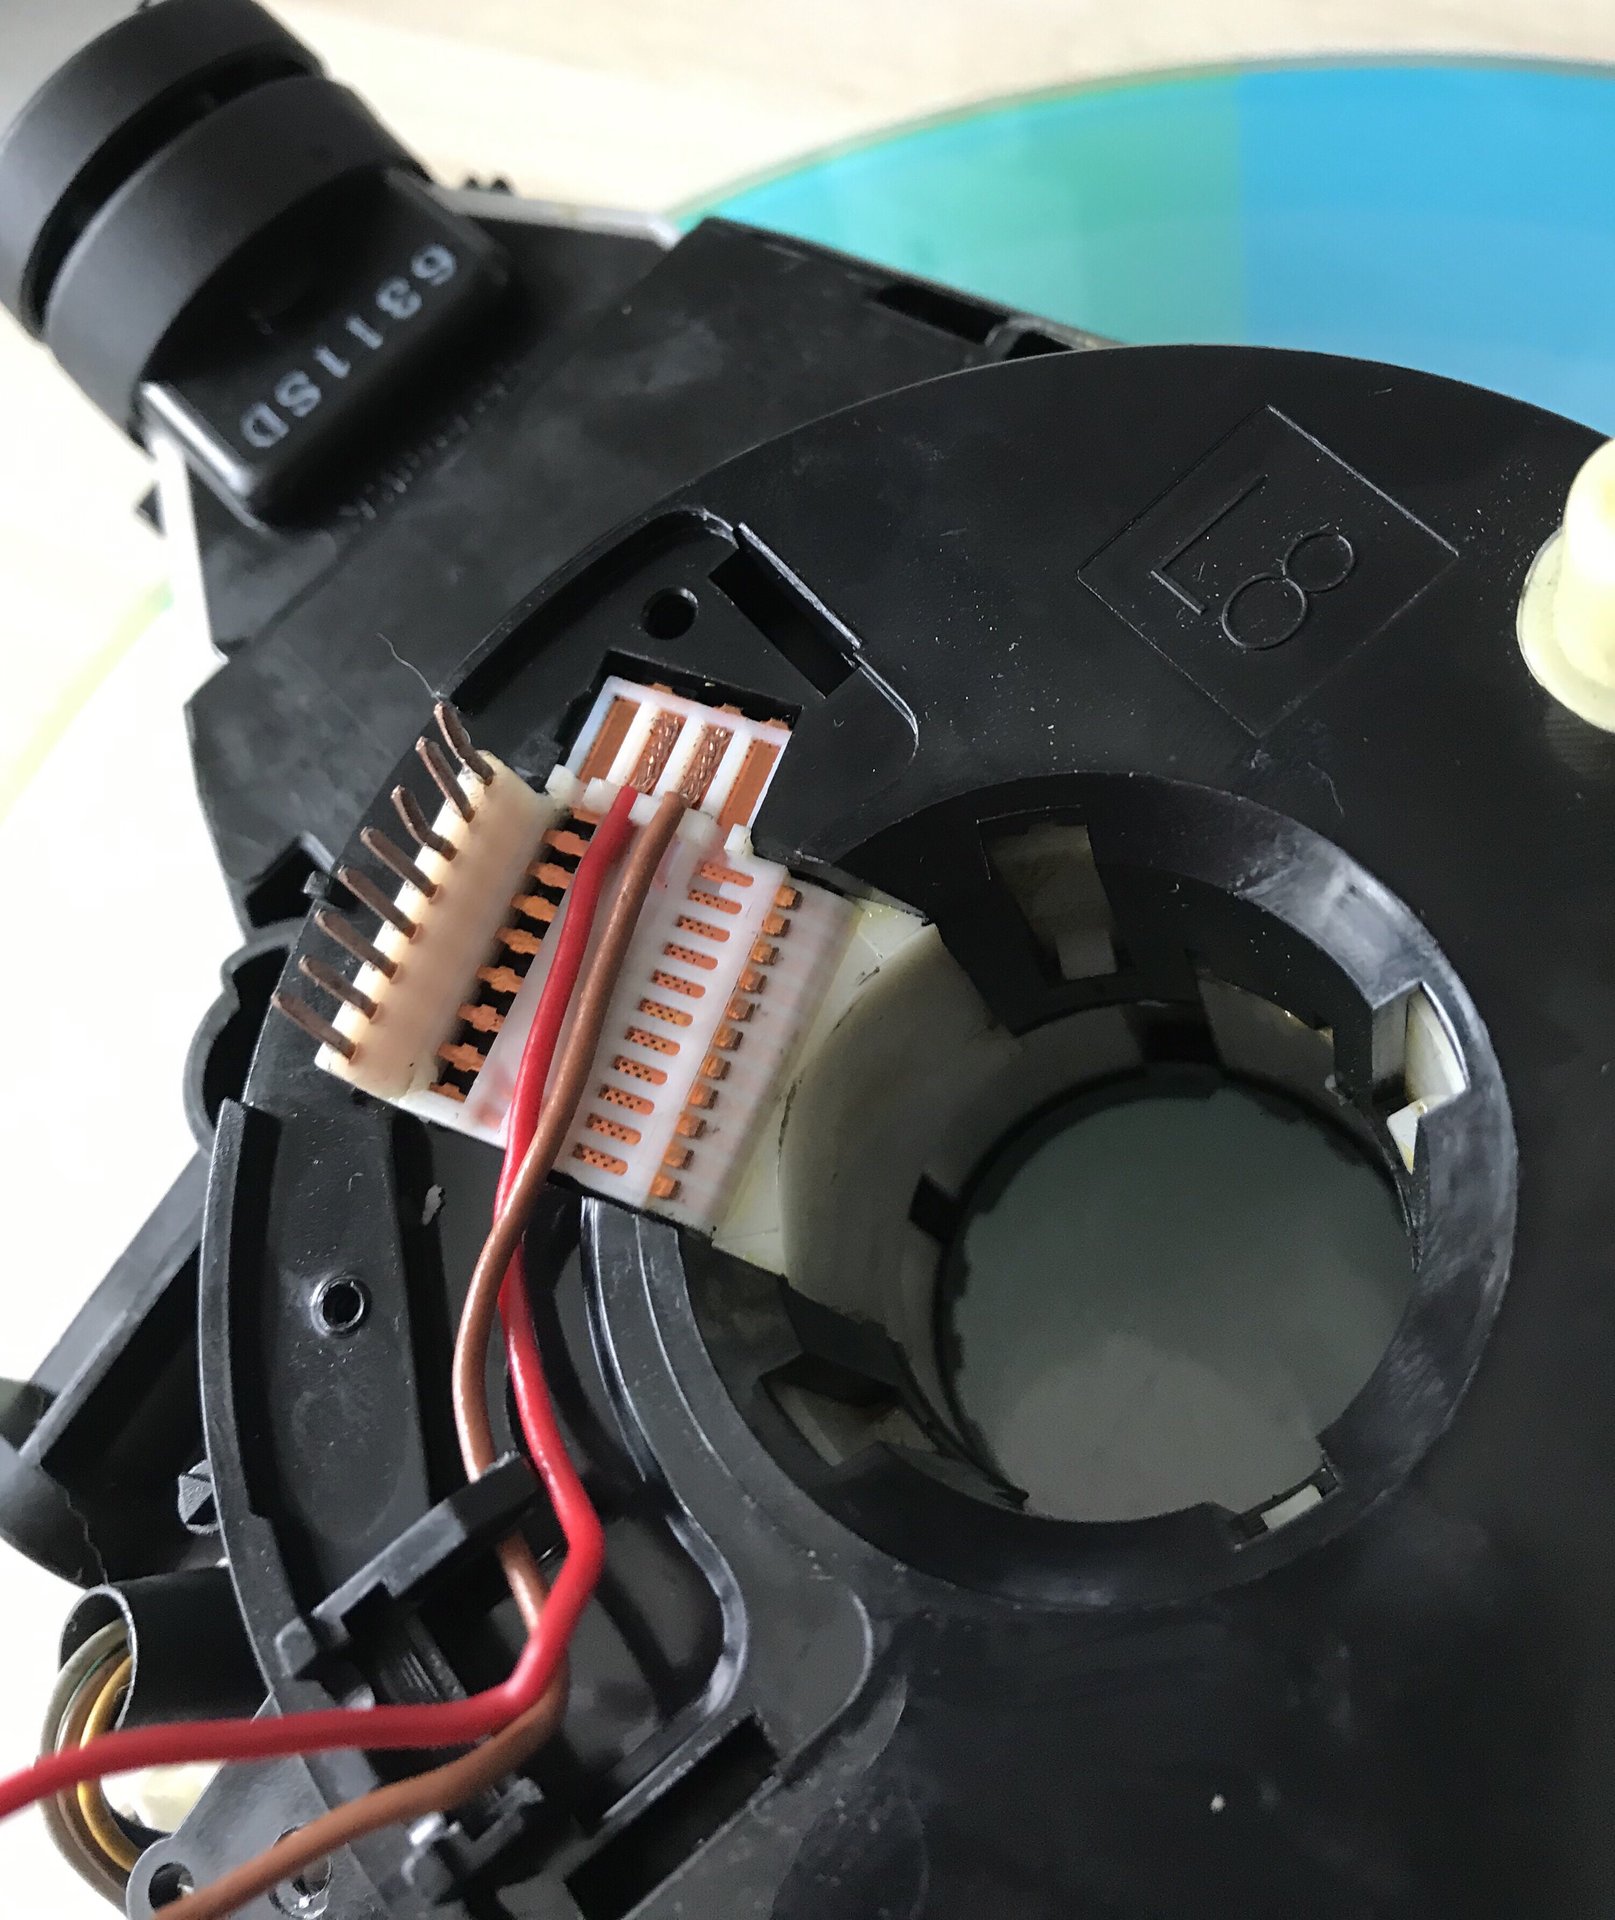
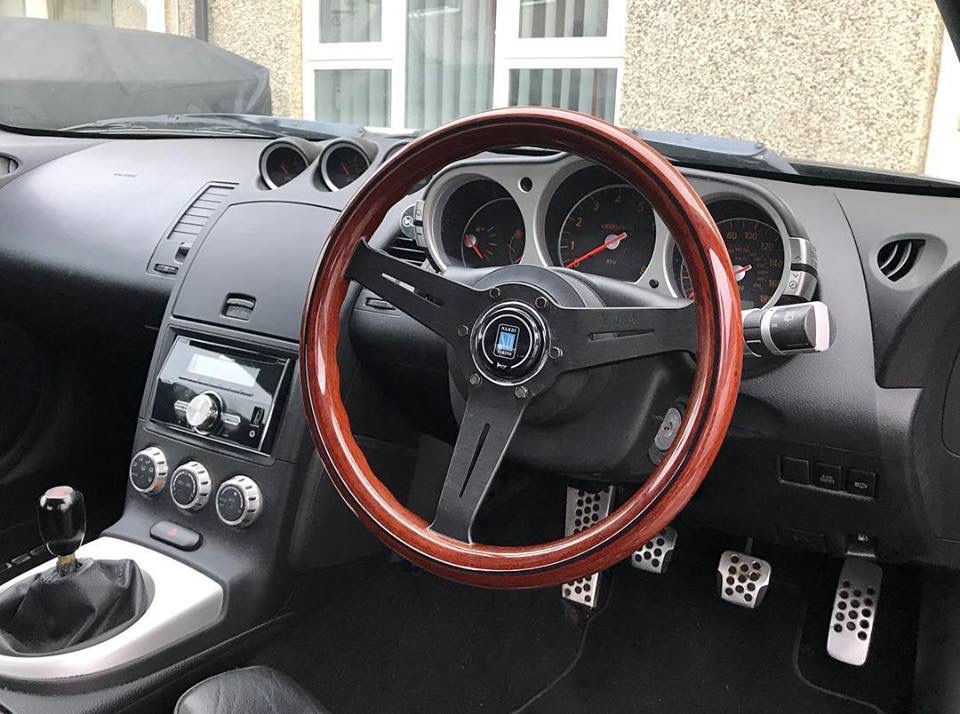
My first task was to strip the dash and replace the Airbag Clock Spring, as the the one fitted has broken.
The new unit that came with the Car was different. However, we managed to make good one out of the two.
Once that was replaced, we moved on to fitting the Nardi Deep Corn Steering Wheel and HKS Boss, supplied by the guys over at Driftworks.
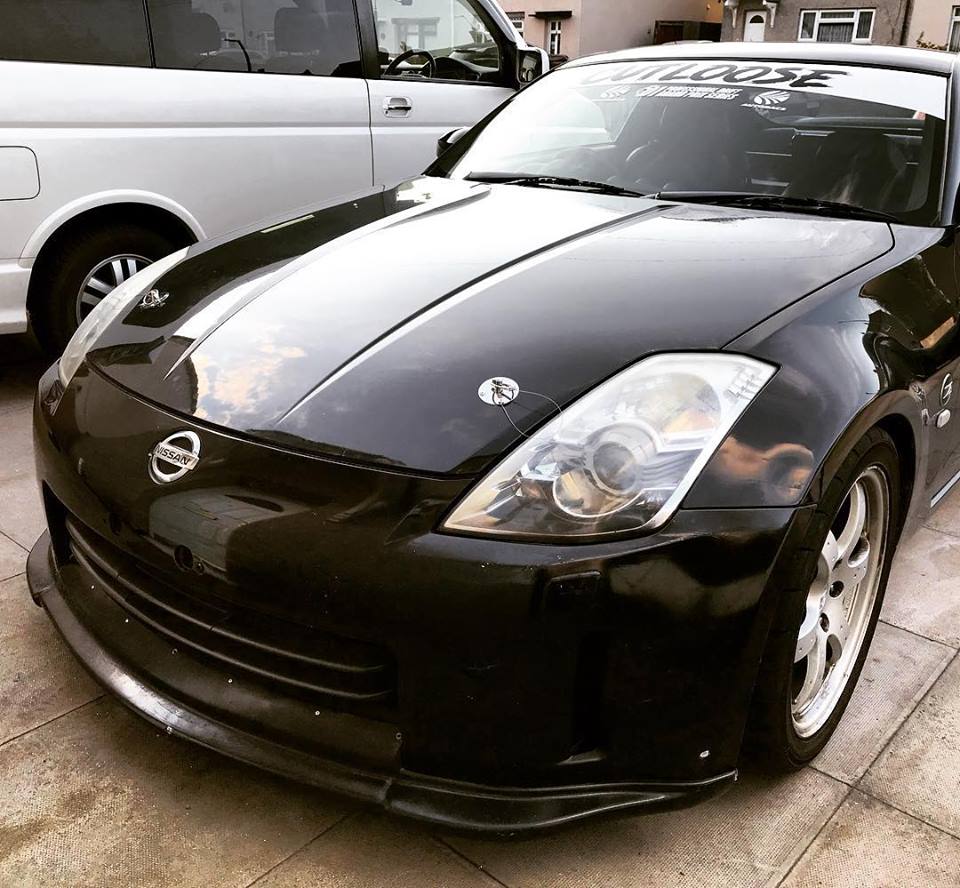
New bonnet pins from Grayston fitted along with a Lip Spoiler and Cutloose team Banner for the Windscreen.
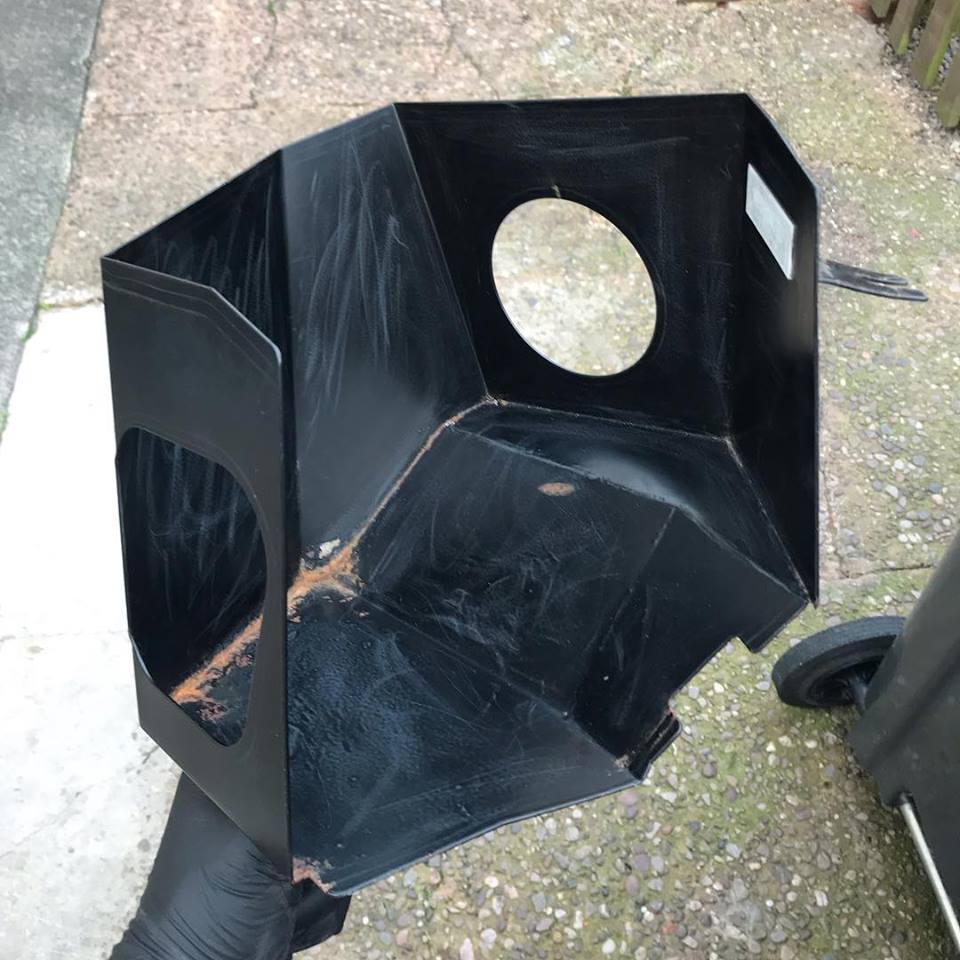
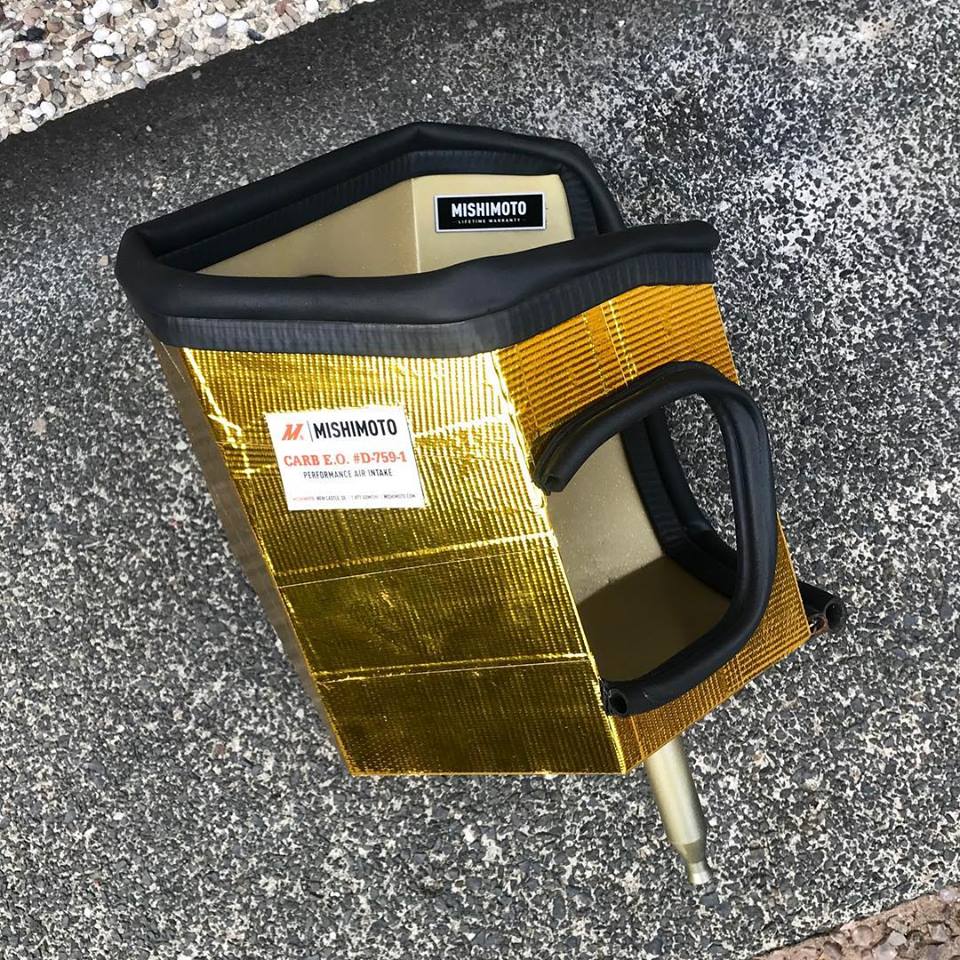
The Mishimoto Intake had seen better days, so decided to give it a freshen up and Heat Wrapped it,

Also obtained a pair of Japanese fake split VSXX wheels for Drift spares.
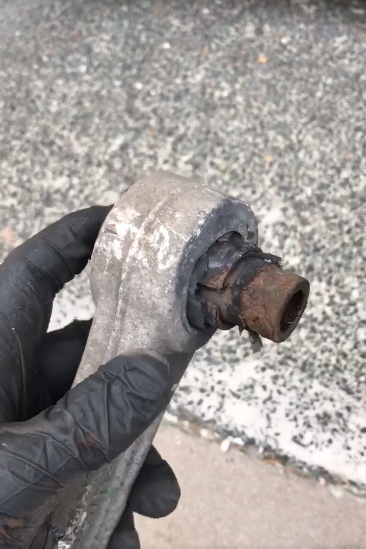
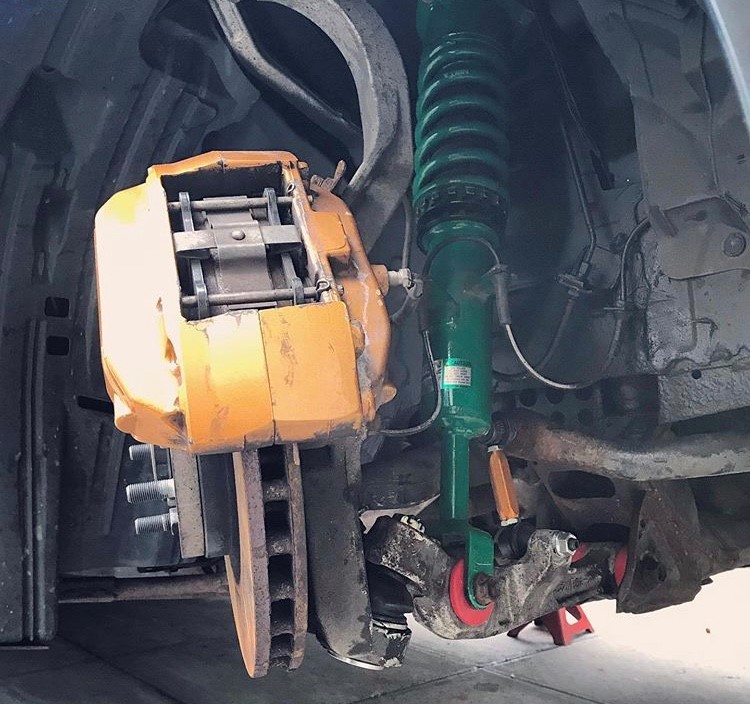
Next up, we made a start at sorting the front suspension. The Car came supplied with Polybushes as the lower arm Bushes were trashed (literally fell out of the arm) and replaced the worn out links with some Whiteline adjustable drop links;
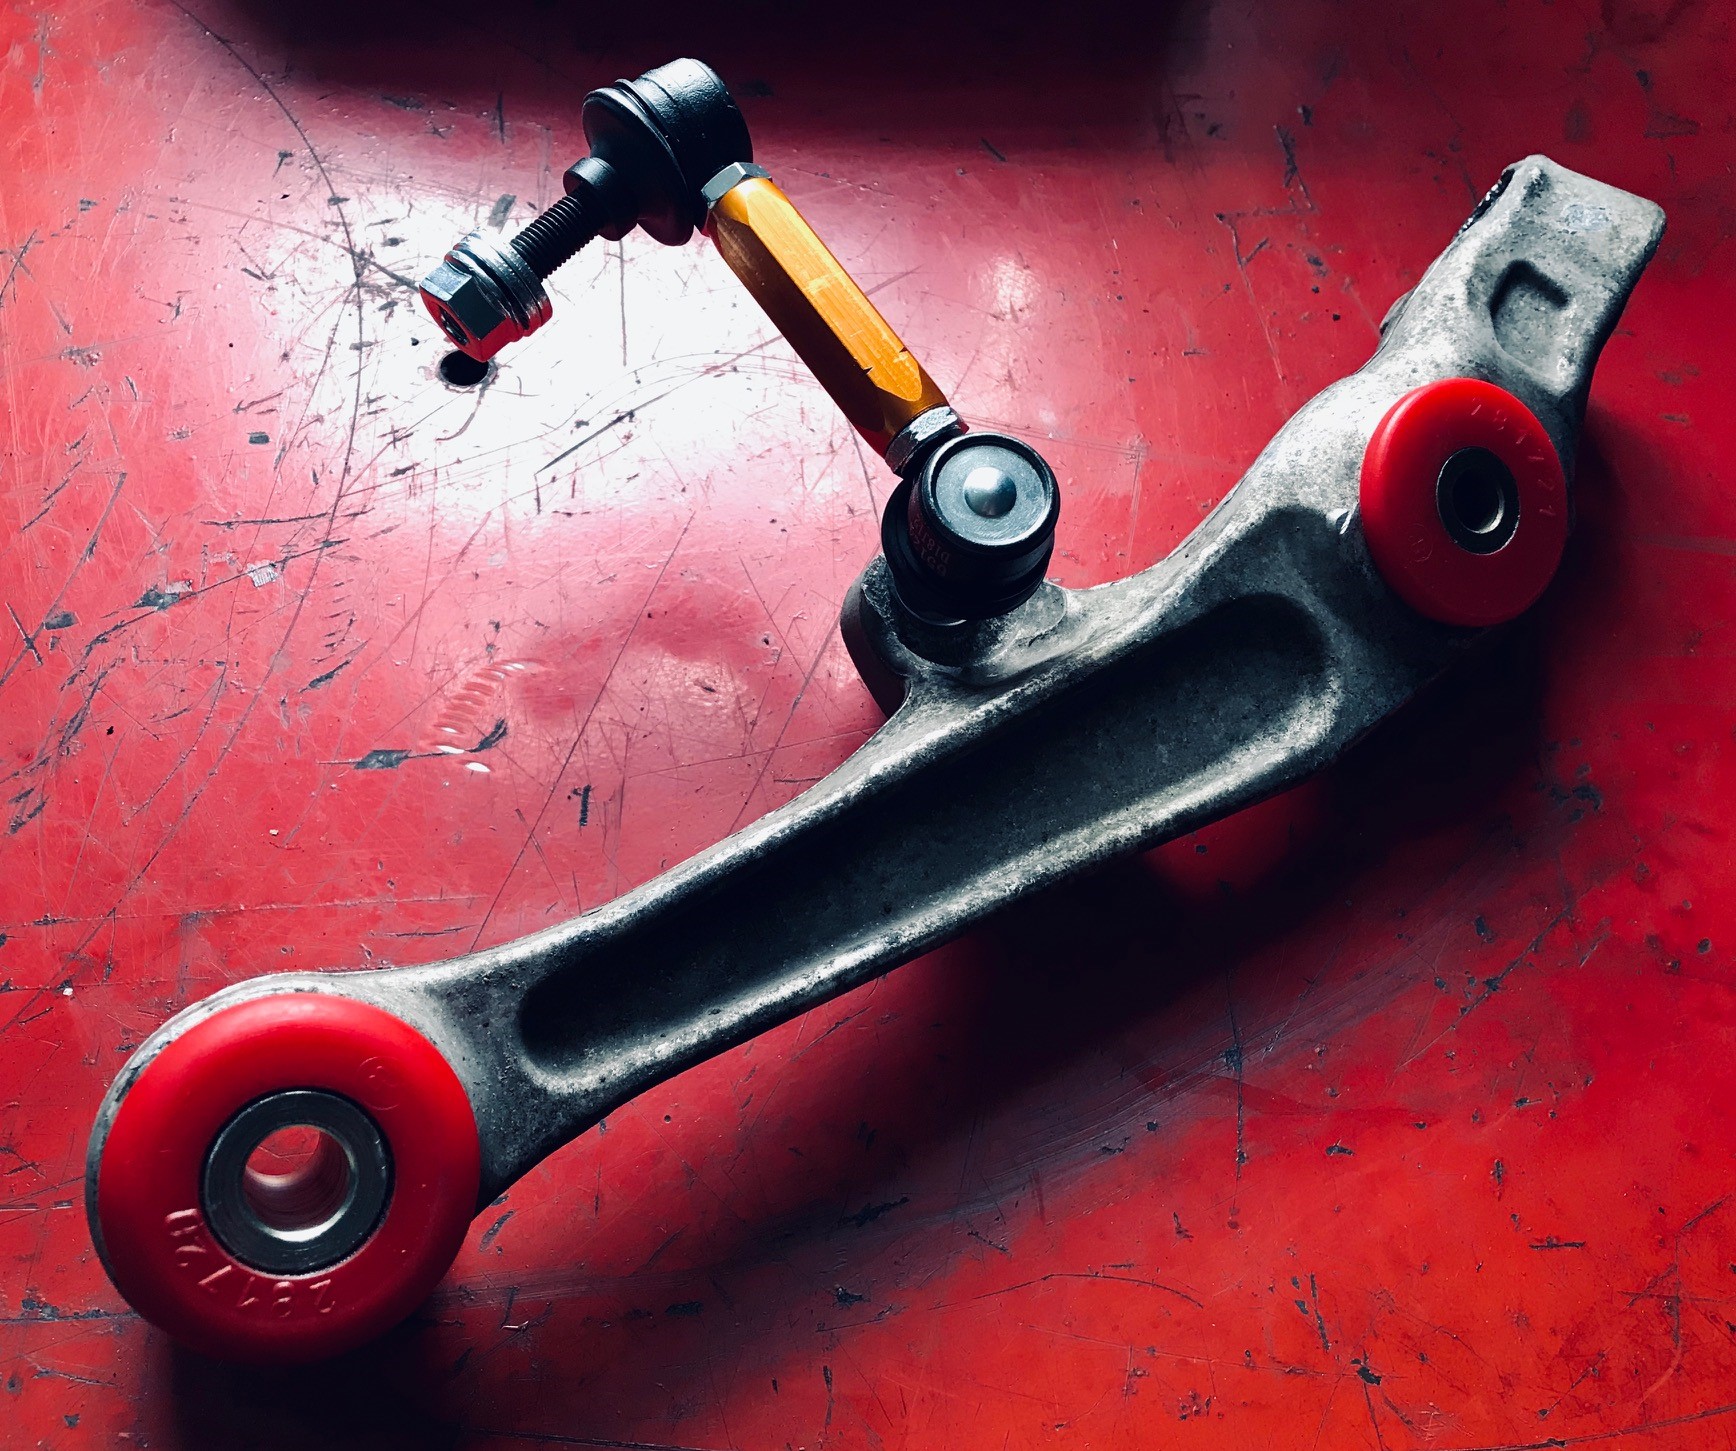
Once it was all rebuilt, I then treated the arch tubs to a clean and some Waxoyl and adjusted the Coilovers a touch
Sits much better now.
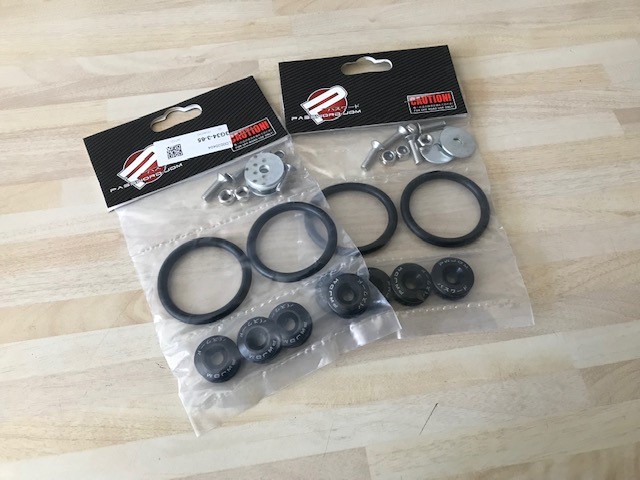
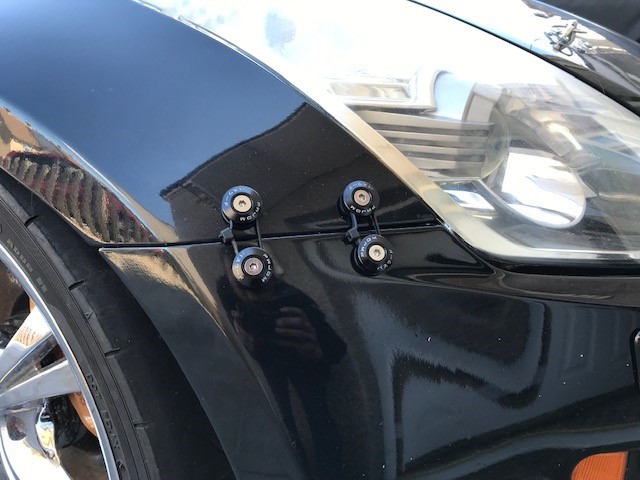
Now we have the front sitting lower, I decided it was best to have the front bumper on a quick release. The Car is going to be transported on a recovery truck for the moment. So, overnight parts from eBay/China…
Diff Welding was next on the list, to tie me over until I can get a KAAZ LSD fitted.
Whilst the back end was up, we had to adjust handbrake as it was none existent. Also lowered the rear Coilovers a touch and removed the Diff unit.
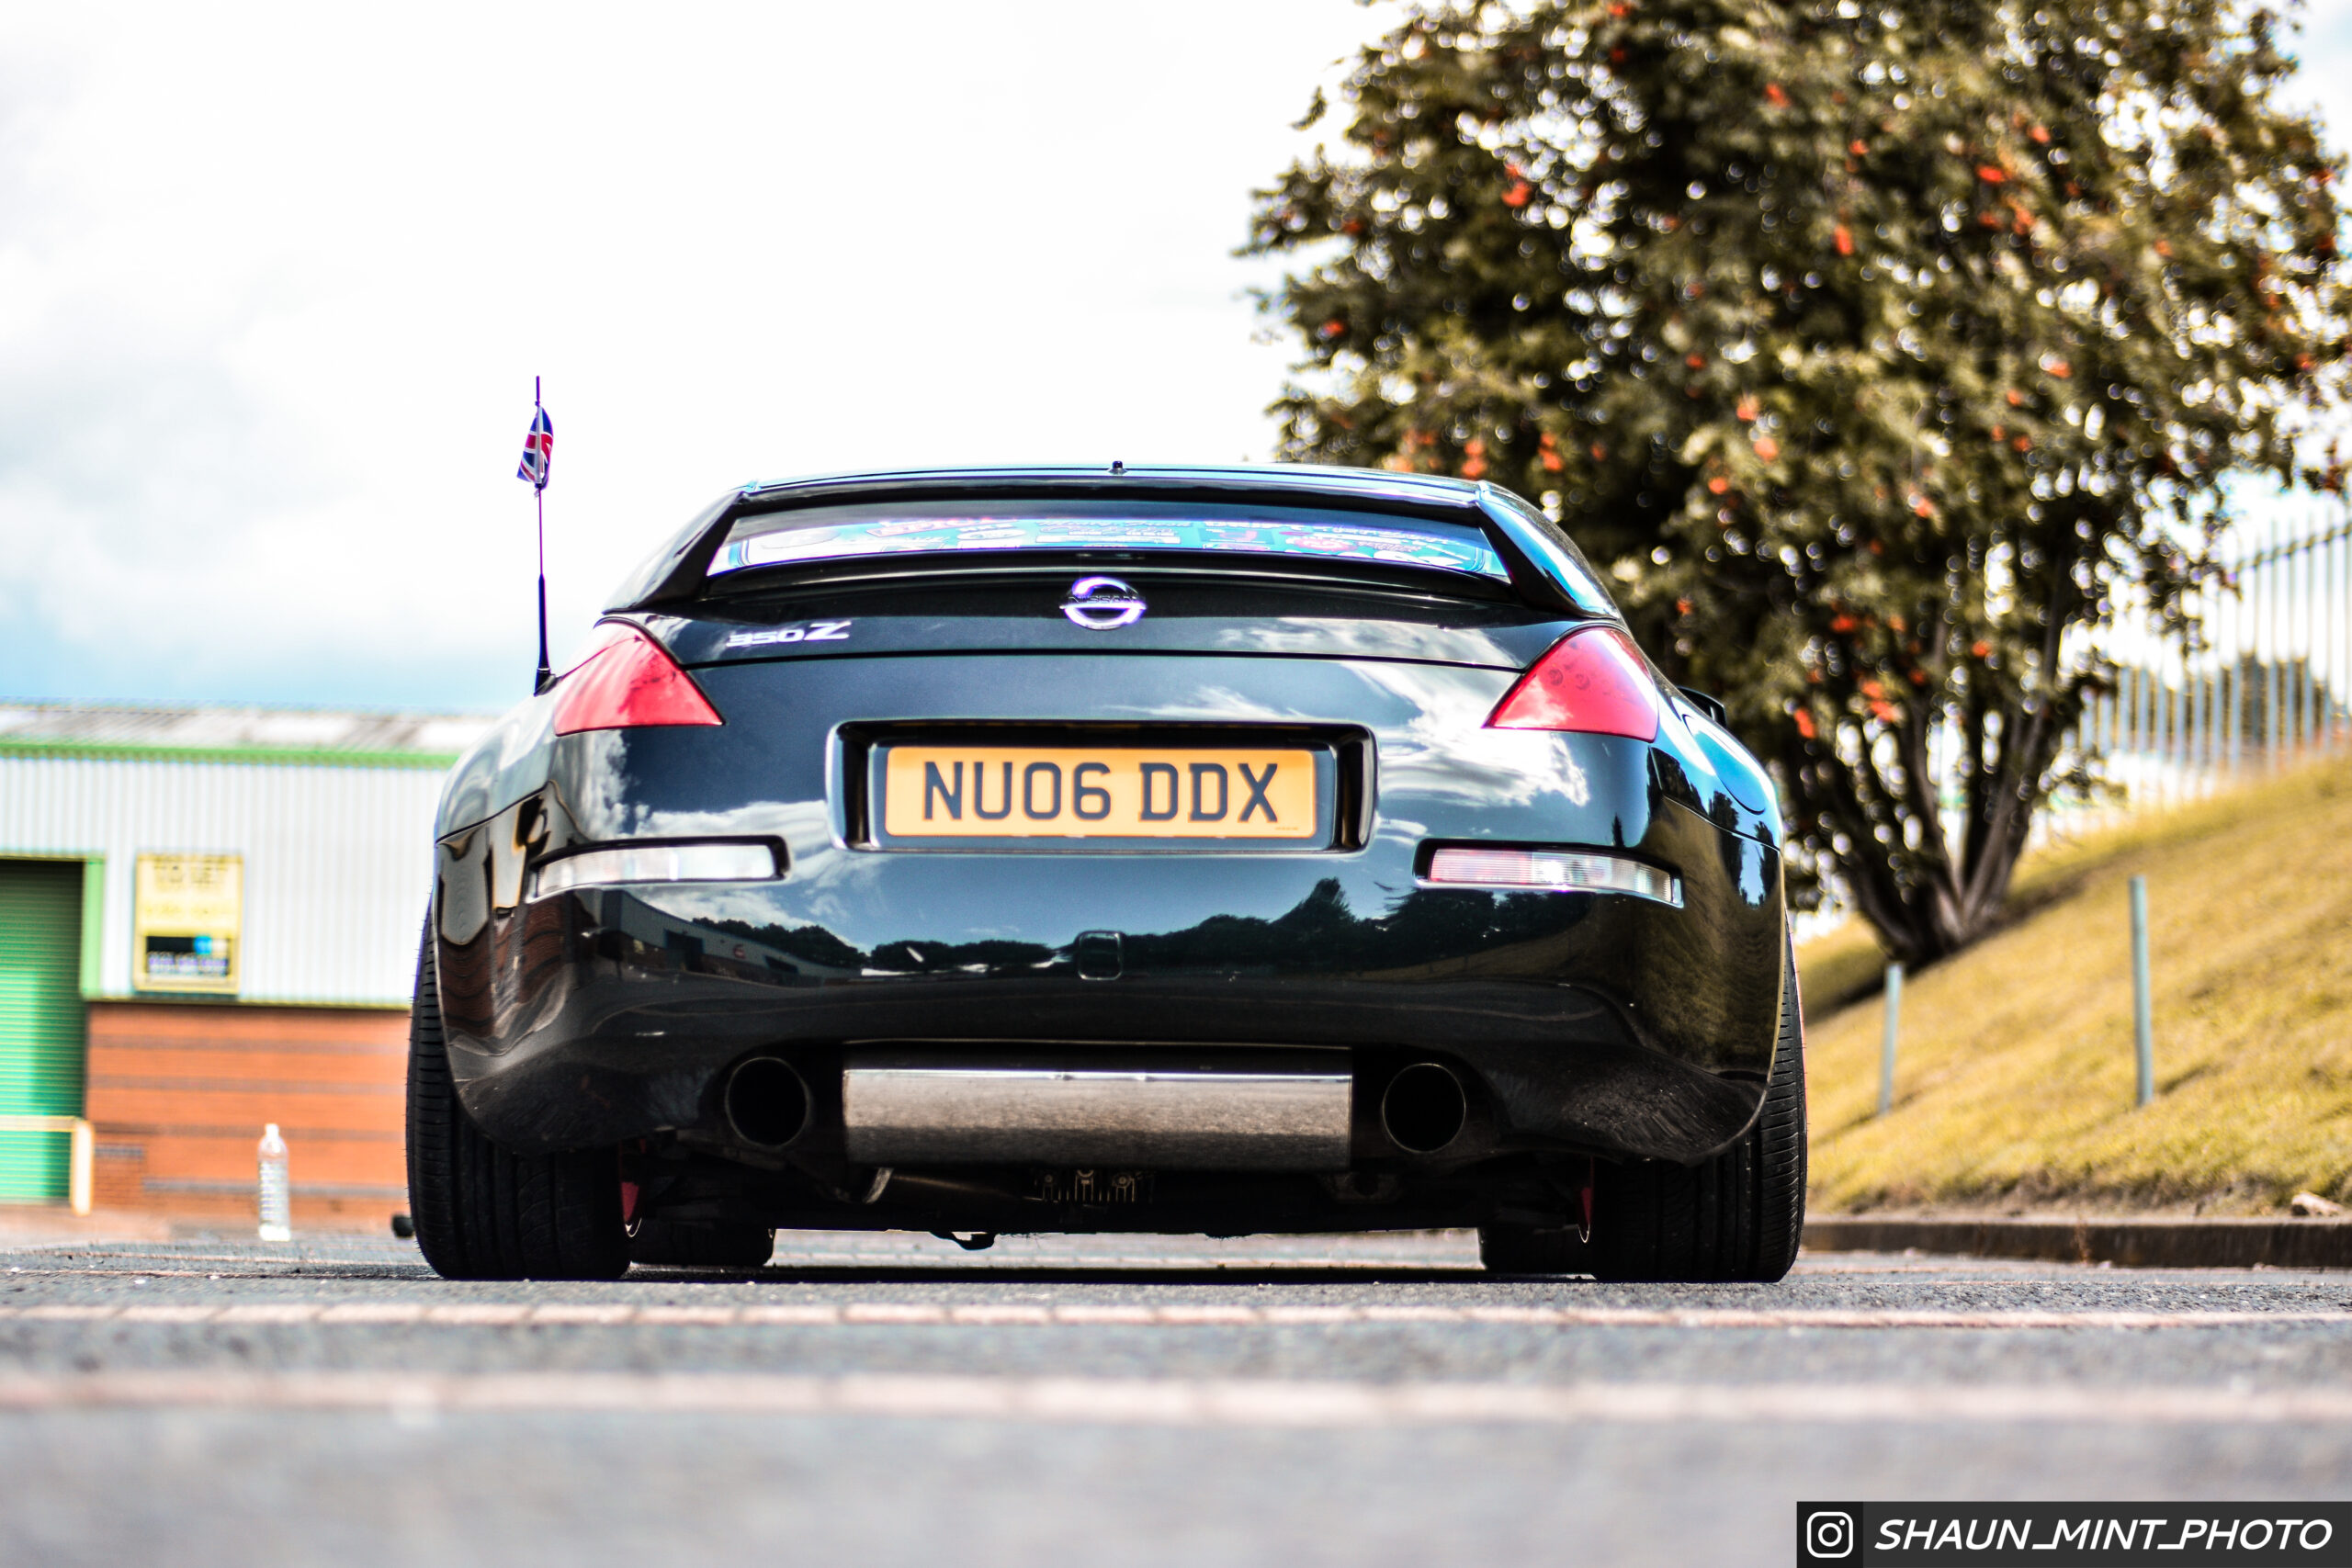
I also carried out a rear Bumper tuck, to help show off the freshly polished Scorpion Exhaust.
On the subject of aesthetics, I painted up the Intake Plenum in VHT Wrinkle paint.
Makes the Engine bay a little tidier, I cant stand the factory Silver Plenums!
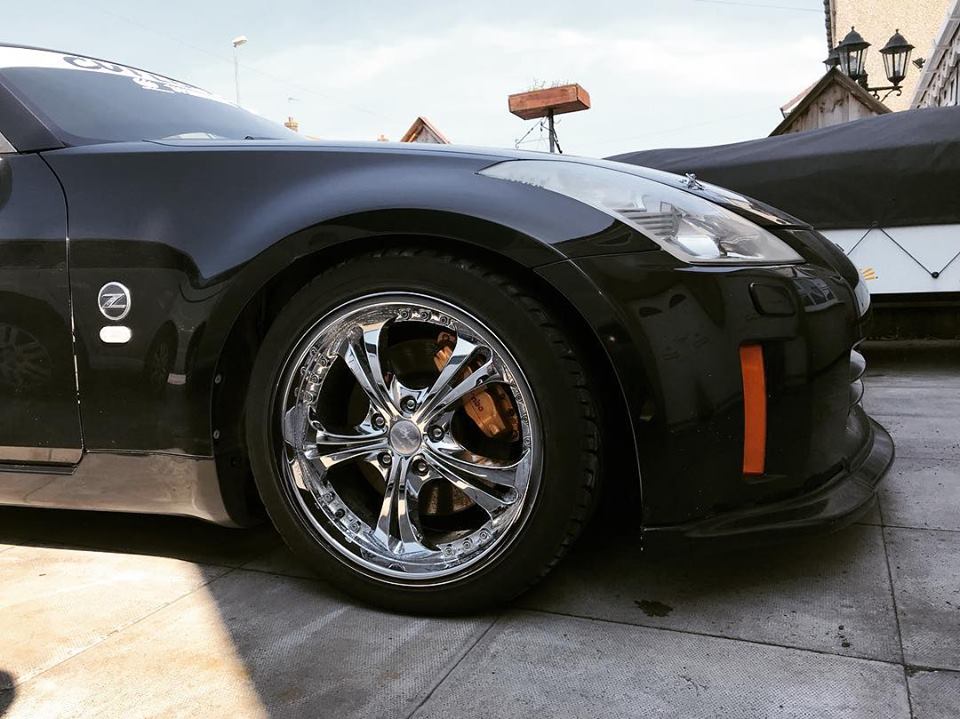
After a few weeks of waiting, the new Rays Wheels landed from Japan in one of our Shipments.
The Wheels in mind are Gram Lights 57CR, in Sakura Pink.
18×9.5 ET12 Front and 18×10.5 ET12 Rear

After a quick visit to the guys at Cutloose, we promptly got the Tyres fitted,

After a quick trip back home, the wheels were bolted up, complete with Rays Hub Rings and 17Hex Nuts.
The Car has been completely transformed and I couldn’t be happier with the outcome,


Now that the wheels are all bolted up, there was some minor body tweaking to do, so I could bring the ride height down without catching the wheels on the body.

All arches were Rolled and the fronts were pulled 5mm. Suspension was also dropped a further 25mm all round to reach the look I am aiming for.

In addition to the new wheels, we also took delivery of the Rays 57Motorsport spoke decals for the 57CR and DR Wheel,

Looking a million times better already,

Seating is next on my list, so in goes a Bride Brix Seat and MO Seat Rail to go with the TRS Harness,

MOT time, passed without much hassle! The Car drives spot on. We just need to count some miles up on it now, as its been stood for so long.

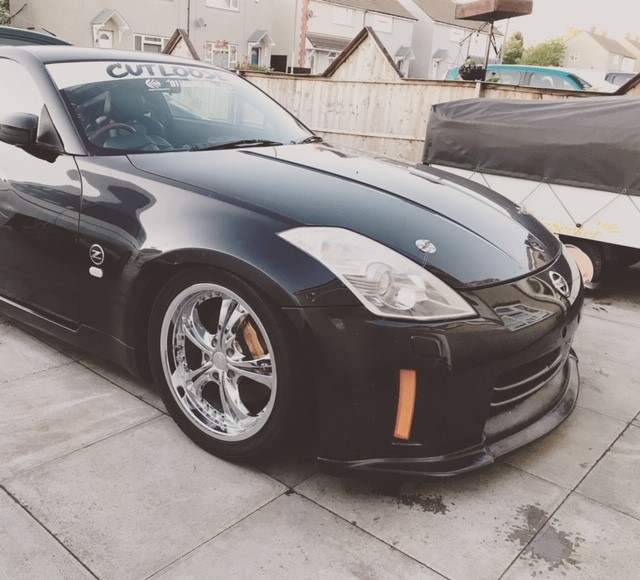
Also took the opportunity to get some photo’s take with our Sales guy Shaun,


We have also recently made the decision to get shot of the welded Diff, in place of a nice, shiny KAAZ 2-Way SAN3510 Unit and promptly got to work installing it,


Now the LSD is fitted and bedded in, I made the decision to replace the factory Clutch with a Competition Clutch unit, as the bite on the pedal was quite high. I also replaced the Clutch Hose with a Braided line from Hel Performance and bled the system with some AP Racing Fluid.
![]()

After this, the next task was to strip the rear interior and remove the metal work behind the seats. The main reason for this, was for space to carry spare drift wheels and tools etc. (Plus the added bonus of weight saving and ease of fitting a roll cage later down the line)
A rretty gruelling task, but well worth the effort,


With the first drift day closing in at Santa Pod, we went to see the guys over at A-Line Dudley to make sure everything was straight.

Everything seemed good, but the rear has around 3-degrees of Camber.
Thanks to seized bolts and non-adjustable Camber arms, we couldn’t adjust it out.
Another job to add to the list! But all nice and straight non-the less.
After that, a quick wash for our Coffee Morning just few days before drifting. Plus a chance to get some photos before the carnage!


Santa Pod Rolled around, feeling pretty excited to get back out!
The morning started off with low speed figure of eights in the play Pens, getting used to the Car and then moving up to the kidney track for some slow speed technical learning.


Overall, the car performed great and was a different animal compared to the last few cars I have owned.
The KAAZ LSD took all the abuse I could throw at it and performed great.
The only issue we came across on the day, was the Clutch Pedal sticking around half way when the car was hot, but returning to normal after a cool down. I am putting it down to how close the Clutch line is to the Exhaust down-pipe/cat.
I decided to implement some heat protection around the slave cylinder and hose. Luckily, Mishimoto have just released a new range of heat protection for wiring and pipes, so promptly ordered some up;

We also need to make a bolt-on heat-shield for the Slave Cylinder, so fingers crossed it does the trick!